
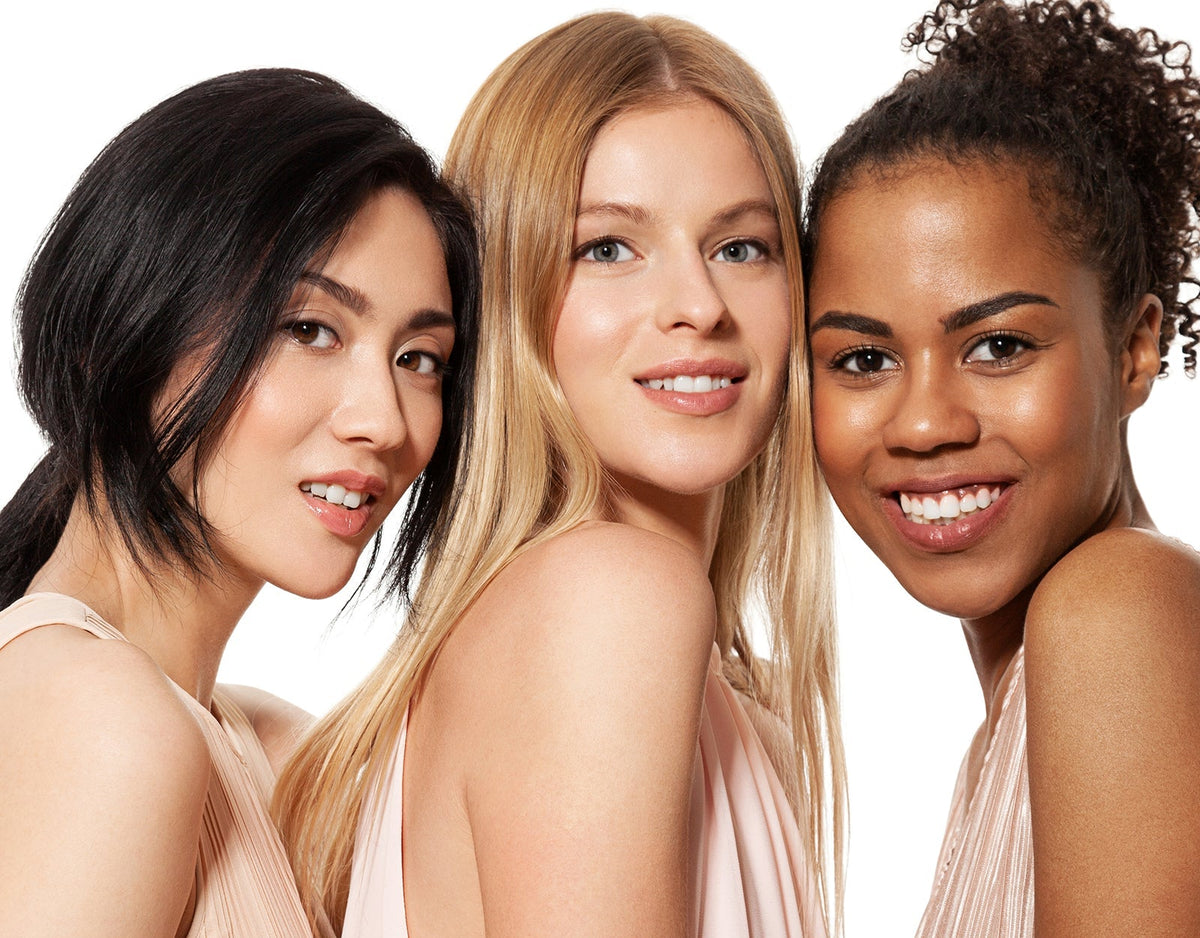

Match the visible transition between your jawline and neck. Your face can be redder or more sun-exposed, so matching only the center of your face may leave the base looking disconnected.

Shopping for a skin tint online can feel harder than it should. The formula is sheer, screens shift color, and undertones are easy to miss. The simplest way to narrow it down is to compare three things together: your skin depth, your undertone and the tone of your neck.

What is a skin tint?
A skin tint is a complexion product made for lighter, more natural-looking coverage than a traditional foundation. It gently evens the look of skin while allowing your own texture to show through—ideal for quick mornings and makeup that still looks like you.
SKINTIFIC Daily Filter Perfect Skin Tint is described as a lightweight base with a smooth, velvety finish. The product page highlights quick blending, pore-blurring, a breathable feel, and with formula infused with Squalane and Panthenol. It can be applied in a thin layer and built up only where you want a little more coverage.
Step 1: identify your skin depth
Skin depth is how light or deep your complexion appears. Start with a simple range rather than trying to name your exact shade:
- Fair: very light skin that may burn easily in the sun.
- Light: light skin that may tan slightly or develop a warm cast.
- Medium: a mid-range complexion that can shift between light and tan depending on the season.
- Tan: a deeper golden or brown complexion, often with noticeable warmth or olive tones.
- Deep: rich brown to deep brown skin with a wide range of possible undertones.
Remember to check your neck and upper chest in daylight rather than judging only your face. The face can look redder, darker, or lighter because of sun exposure, skincare, or leftover makeup. Your best shade usually creates a soft transition from jawline to neck, instead of matching the center of your face alone.
Step 2: Work Out Your Undertone
Undertone is the subtle color beneath the surface of your skin. It usually stays more consistent than your surface tone, even when you tan. The most common undertones are:
- Cool: pink, rosy, or bluish hints.
- Warm: golden, yellow, or peach hints.
- Neutral: a balance of warm and cool tones.
- Olive: a muted mix of green, golden, or gray tones that can look different under indoor lighting.
Veins can offer a clue, but they are not a perfect test. Compare the overall look of your neck and jaw in natural light, then look at several swatches side by side. If warm shades look orange or cool shades look pink, a neutral or olive-leaning option may be closer.
Step 3: Start With the Right Shade Family
When shopping for Daily Filter Perfect Skin Tint, use the product page's shade categories and shade chart to narrow the range first. The page organizes shades by light, medium, and deep groupings and includes swatches on different skin tones. Use those visuals as a starting point, then compare the shade with your neck tone rather than choosing only by the model photo.
Do not assume that the lightest shade is automatically the safest choice. A shade that is too light can make the complexion look flat or gray, while a shade that is too warm can look orange after blending. If you are between two shades, test both along the jawline and see which one disappears more naturally into the your neck.
Step 4: Swatch Skin Tint the Right Way
Online shade tools can be helpful, but they are not always consistent. Community discussions often mention differences between indoor and outdoor lighting, neutral or olive undertones, and shade matches that look right in a store but wrong at home. Treat a shade finder as a starting point, not the final answer.
- Apply two or three close shades in narrow stripes from the lower cheek across the jawline.
- Blend each stripe slightly down toward the neck.
- Check the swatches in natural window light, not only under warm bathroom lighting.
- Let the formula settle for several minutes before deciding. Freshly applied makeup can look different from the finish after it has blended into the skin.
- Choose the shade that looks most seamless across the jaw and neck, not the shade that looks brightest on your hand.
Step 5: Consider How Skin Prep Changes the Finish
Skin prep can change how a skin tint looks and wears, even when the shade is correct. Start with clean, moisturized skin and allow skincare to absorb. The product directions recommend applying a small amount to the center of the face, blending outward with fingertips, a sponge, or a brush, then adding a thin second layer only where more coverage is needed.
If your skin feels dry, use a comfortable moisturizer before applying makeup. If you have an oilier T-zone, lightly set that area with powder after blending. This does not change your undertone, but it can change how smooth, fresh, or matte the final base appears.

Skin Tint vs. Foundation
A skin tint is usually sheerer than foundation, so a near-match can look softer once blended. It is still worth matching depth and undertone because a pink, orange or gray cast can remain visible around the jaw.
Choose a skin tint for lightweight, natural-looking coverage and a fast everyday base. Choose fuller-coverage foundation when you want more visible correction in one layer. You can also keep the skin tint across the face and use concealer only where needed.

Final Shade-Matching Checklist
Identify your skin depth before choosing a shade.
- Check undertone using your neck and jaw, not only your wrist.
- Use the shade chart and swatches as a starting point.
- Test along the jawline and blend toward the neck.
- Judge the shade in natural light after it has settled.
- Apply a thin layer first, then build coverage only where needed.
For a lightweight, skin-like base, view the shade chart and swatches for Daily Filter Perfect Skin Tint before selecting your shade.
Daily Filter Perfect Skin Tint Shade-Matching FAQ
Start with a shade that is not strongly pink or yellow, then compare it with a warm and cool option in natural light. Neutral skin can be especially difficult to judge from online photos, so jawline swatches are more reliable than a screen alone.
Not automatically. Sheer coverage gives you more flexibility, but a shade that is too light can still make the complexion look gray or washed out. Choose the depth that blends most naturally into your neck.
Let the product settle for several minutes after blending. Compare it in the lighting where you normally wear makeup, because indoor and outdoor light can make the same shade appear different.
Yes. Daily Filter Perfect Skin Tint can be used as an everyday base on its own. Add concealer only to areas that need more coverage if you want to keep the rest of the finish light.
